Revised & Updated February 2020.
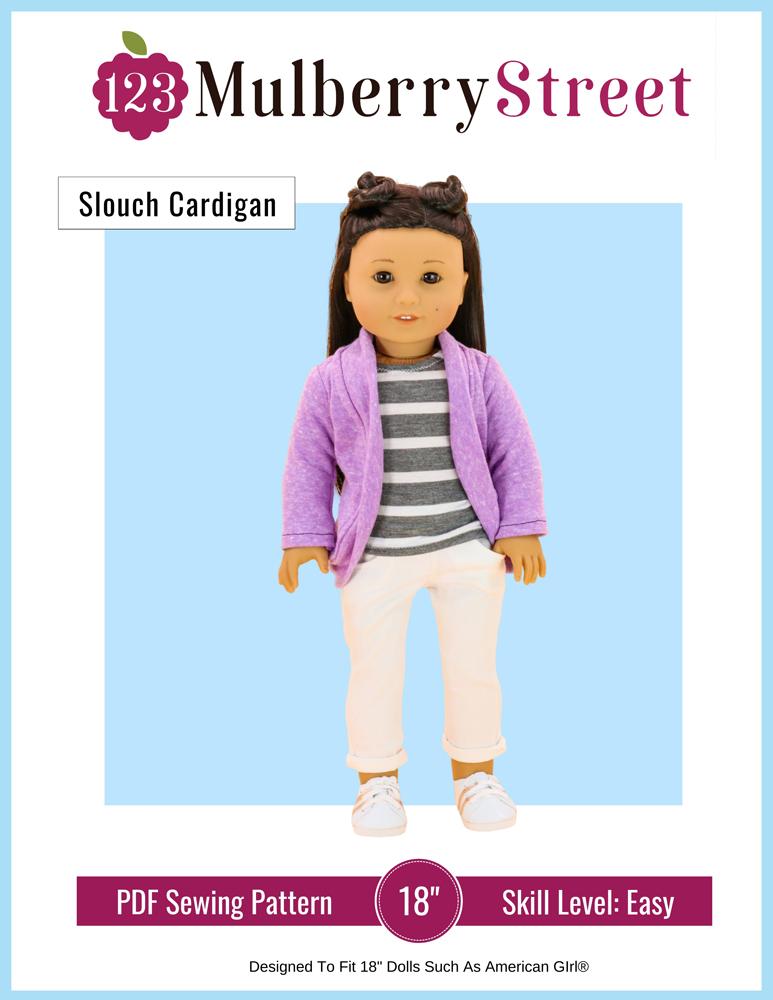
Your 18-inch doll will be sure to make a powerful statement of style with this trendy Slouch Cardigan PDF sewing Pattern by 123 Mulberry Street! This cardigan is a modern wardrobe essential for all American Girl dolls!
Design details include:
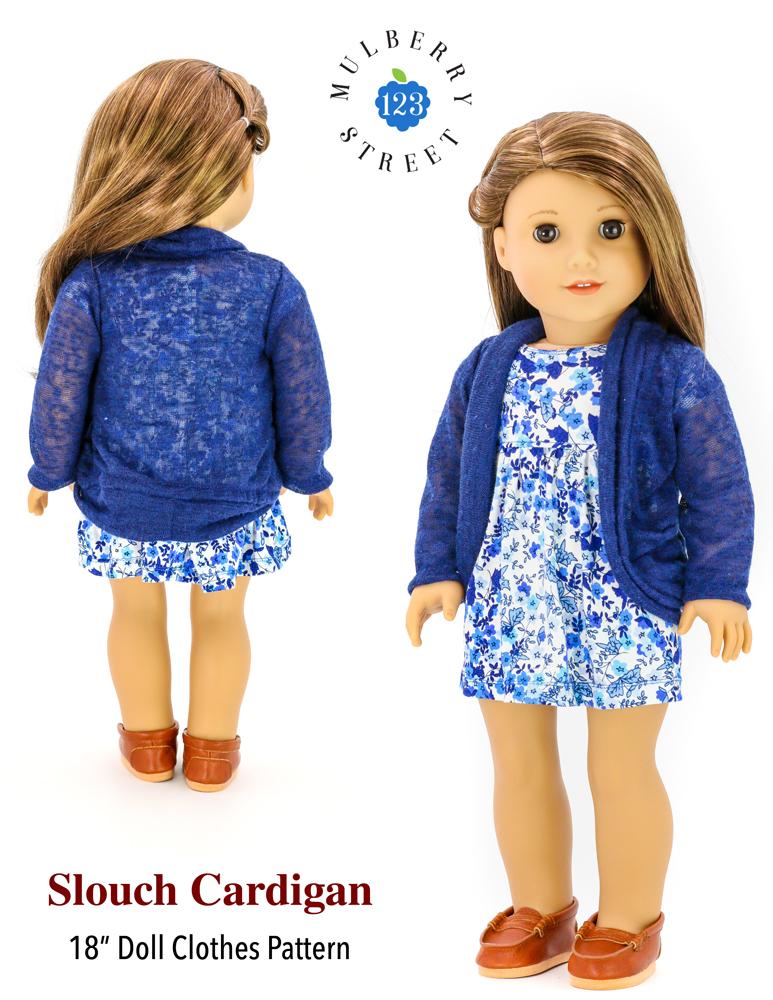
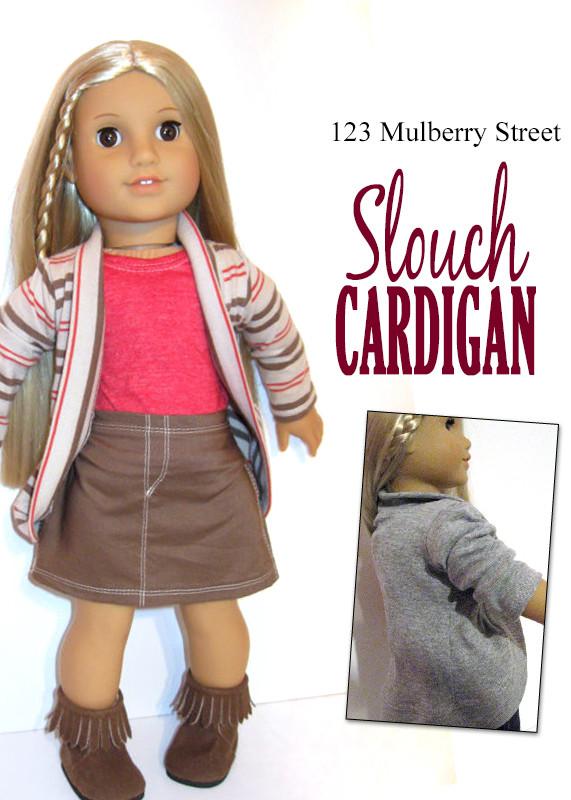
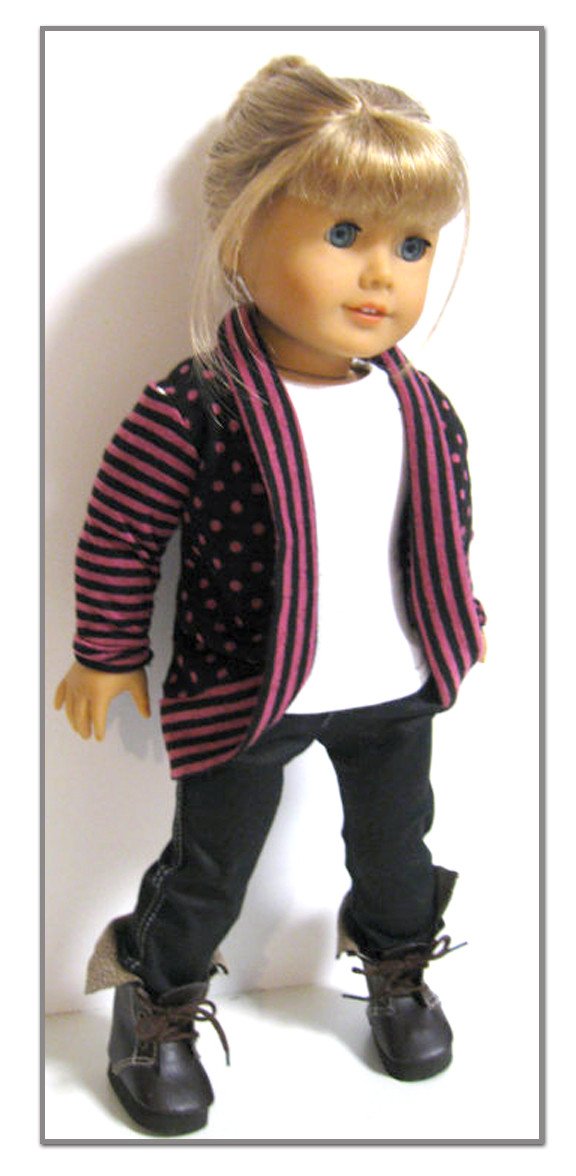
- Relaxed fit, long sleeves, hip length finished length
- Simple construction, just 4 pattern pieces
- Designed to be made with knits, but upcycled sweaters and tees also work great for this cardigan!
Supplies Needed:
- ¼ yard stretch knit fabric
- 1/4" - 3/8" lace or stretch seam binding (optional)
- Iron and pressing tools
- Thread
- Sewing machine
Recommended Fabrics: Knit fabric with 2-way or 4-way stretch. Sweater knits work great.
Skill Level: Easy, Beginner. This is a fun and easy pattern! No knitting required!
What You Get: One 14 page sewing pattern that you digitally download as a PDF file so you can start your project immediately! The PDF sewing pattern provides full color step-by-step illustrated instructions and full size pattern pieces. A PDF reader is required to view and print the files (example: Adobe Reader or Preview for MAC). The download link is received immediately after the transaction is complete. Print copies are NOT available.
Download, Print, Sew!
*Creating a customer account will ensure that you have the ability to access your purchased (and free) files at any time.
For detailed information and answers to the most common questions, be sure to read the Terms of Use and FAQ's related to the doll clothes patterns sold at Pixie Faire.
Pixie Faire and the designers featured are not affiliated with American Girl®.